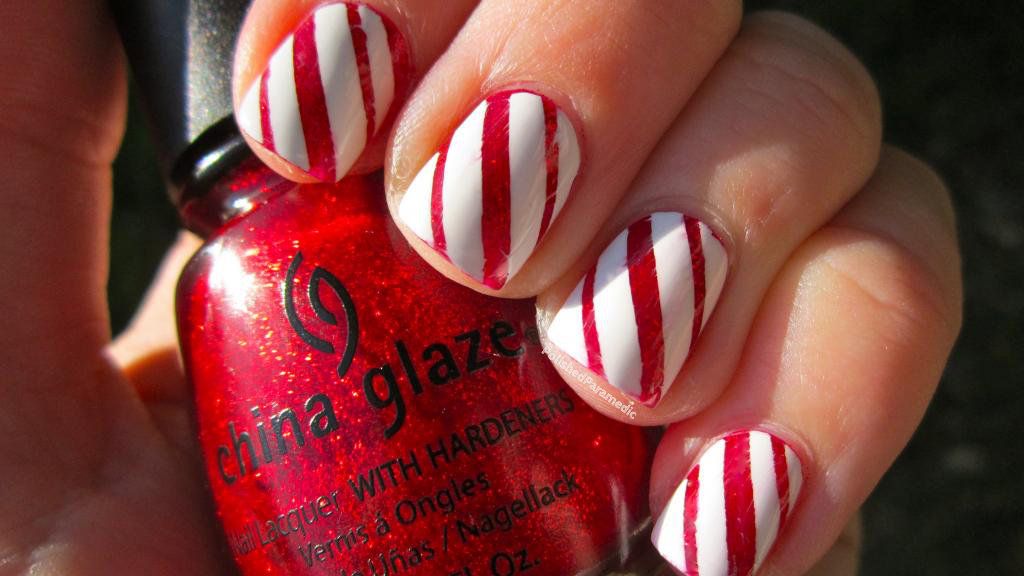
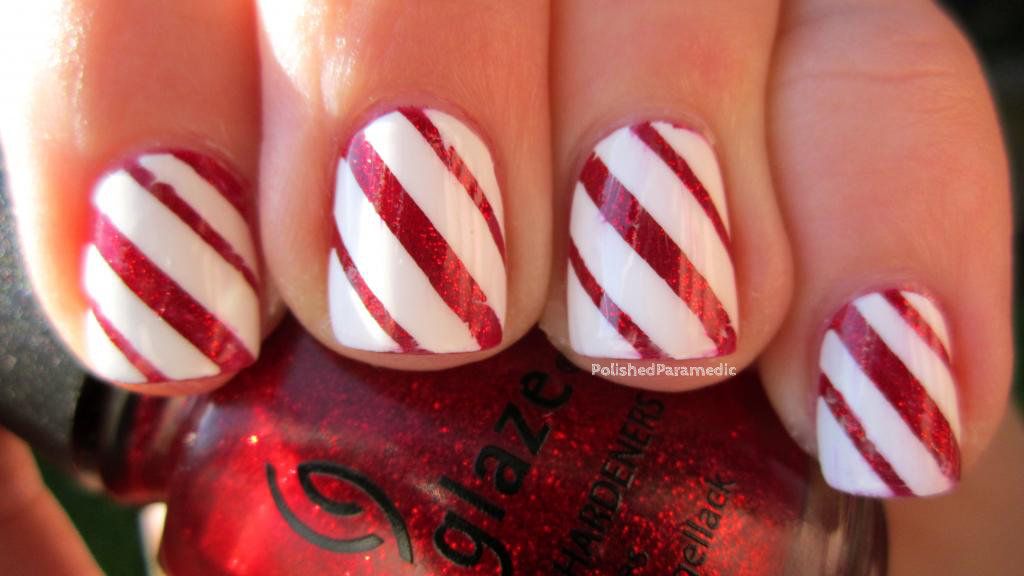
First up is Candy Cane nails! I do these every year and I got alot of compliments on them this year, I think this is the cleanest they have ever looked, and using this technique as opposed to just painting the stripes on using a striping brush creates a much cleaner look.
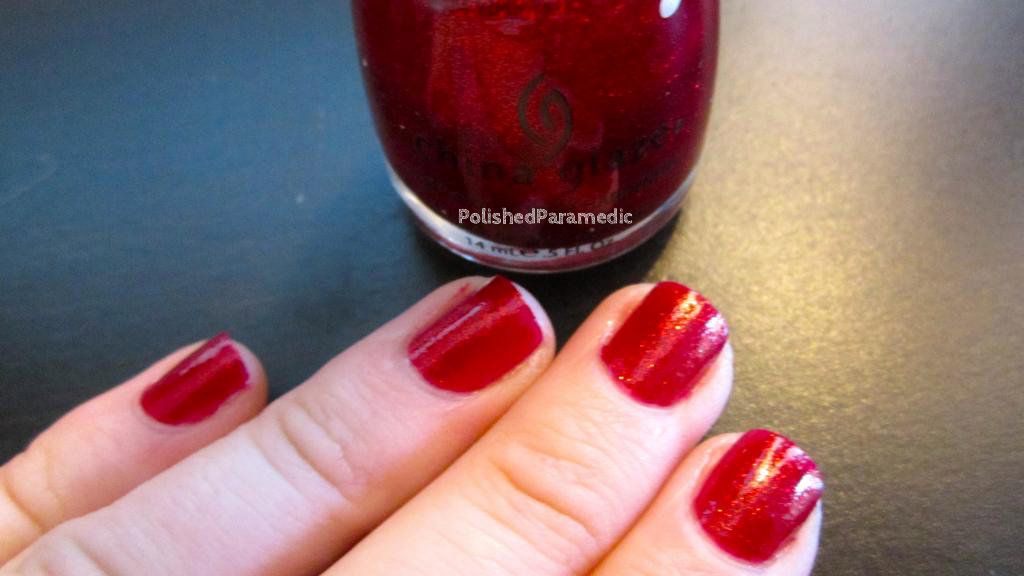
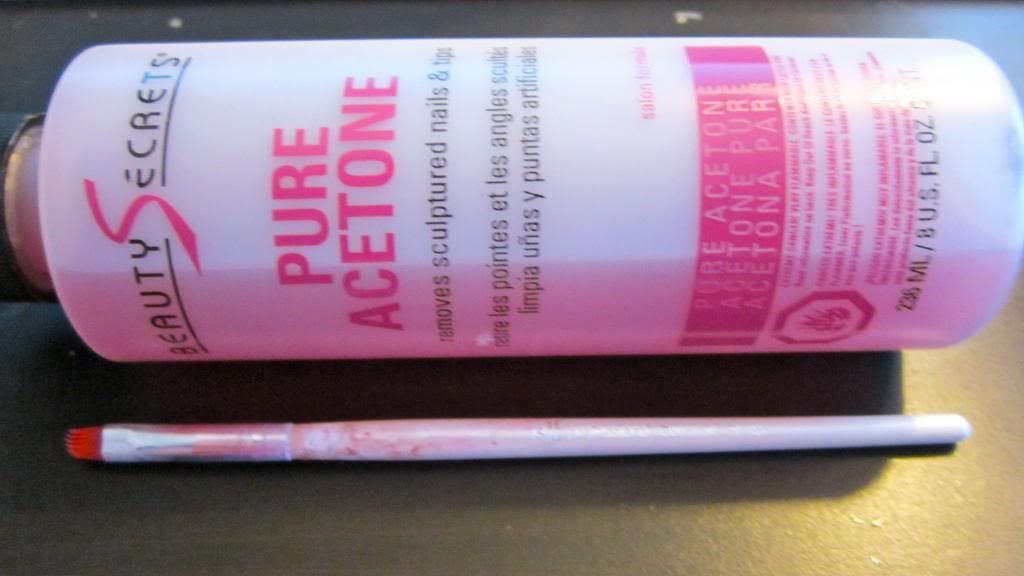
Supplies - you will need 2 polishes - your base color(you can do red, green, whatever color you want!) I chose China Glaze - Ruby Pumps because I like my candy canes with a little sparkle ;) I also chose my favorite white polish - Circus by Andrea - Reverso. You also need your base coat (I used Poshe basecoat today) and topcoat (gotta love me some Seche Vite!), a cleanup brush (ELF $1 concealer brushes are perfect!) and some pure acetone. The last thing, and most important to making this a clean look, is striping tape.
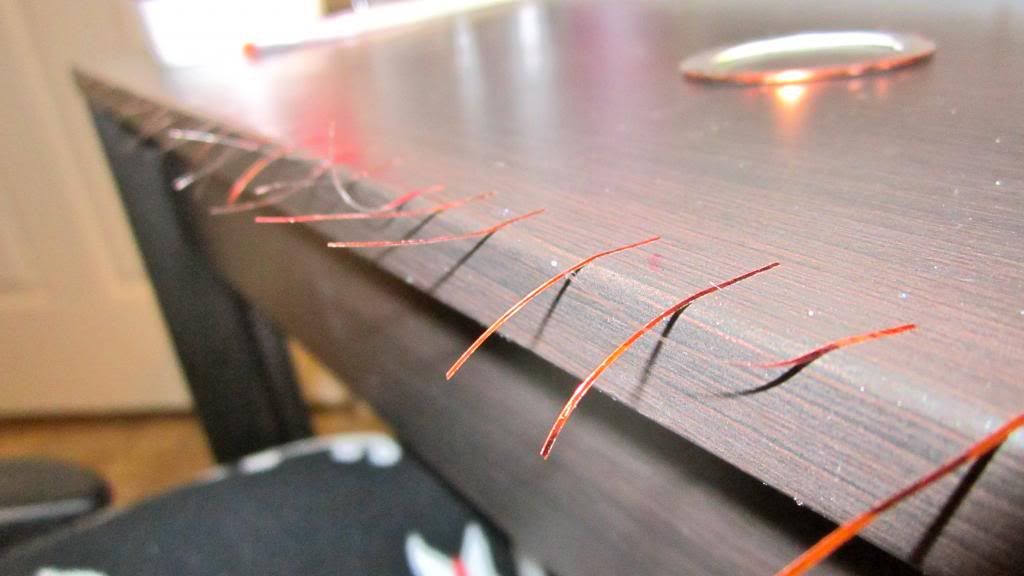
Striping tape is a small roll of nail art tape that is usually metallic and comes in tons of different colors. I havent really found anywhere that has anything similar in stores around here, so I just order mine online. You can find it on ebay and the likes - its super duper cheap, like $5 for 10 rolls of the stuff!

Start by applying your base coat, and then base polish of choice. You base polish is the color of the stripes...that isn't white (duh...lol) I used 2 coats of China Glaze Ruby Pumps to make sure it was nice and even.
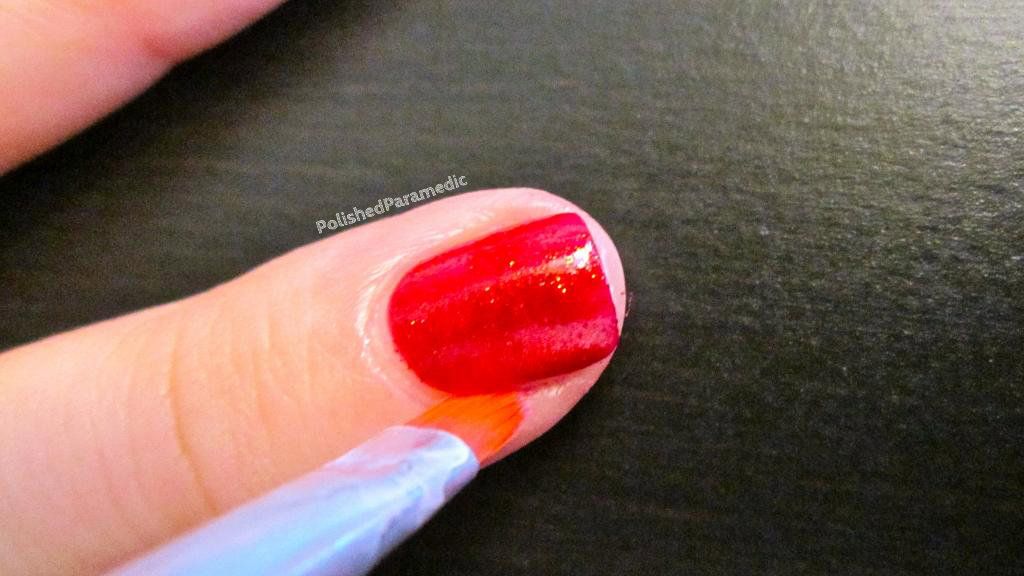
Clean up your edges using your small brush and acetone. Just run the brush around the edges and it will clean up any extra polish on your skin and create a perfect manicure line around your nail - known as the "MeganChair" method in blog land! This is the biggest tip I can give people to having perfect looking nails, not everyone can paint their nails perfectly, but they can LOOK perfect after you clean them up! Cleaning up before painting on the while also helps prevent streaking. Sometimes while cleaning up after applying the white, the red will get mixed in with it and you dont want icky red streaks in your beautiful white polish!
After you've done your cleanup, start cutting strips of tape. (Or you can do this before while you dont have wet nails. That would probably be smart.) I just use regular scissors - stick the end of the tape to your desk or a cup or wherever you are sitting and cut as many pieces as you need. I had to use 46 pieces. Just keep sticking and cutting until you have a little army of striping tape pieces - that way when you start doing it you just have to stick the pieces on, no more cutting in between nails!
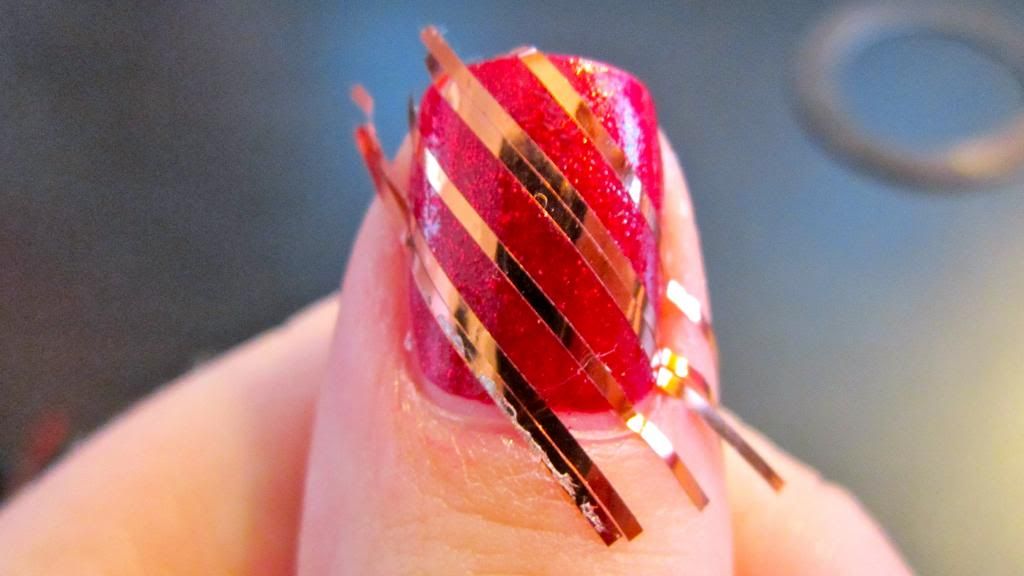
Once the base polish is COMPLETELY dry start putting the striping tape on, one nail at a time. The base polish has to be completely dry or else when you pull off the tape, it will pull off the polish underneath. We dont want that. To create the candy cane stripes I alternated rows of 1 strip and then 2 strips laid next to each other so the stripes were thin-thick-thin. It takes a little practice getting the 2nd strip to lay next to the first for the thick line, so you can just do single lines if its easier - candy canes are diverse and come in many colors and stripe formations!
Tape pattern-
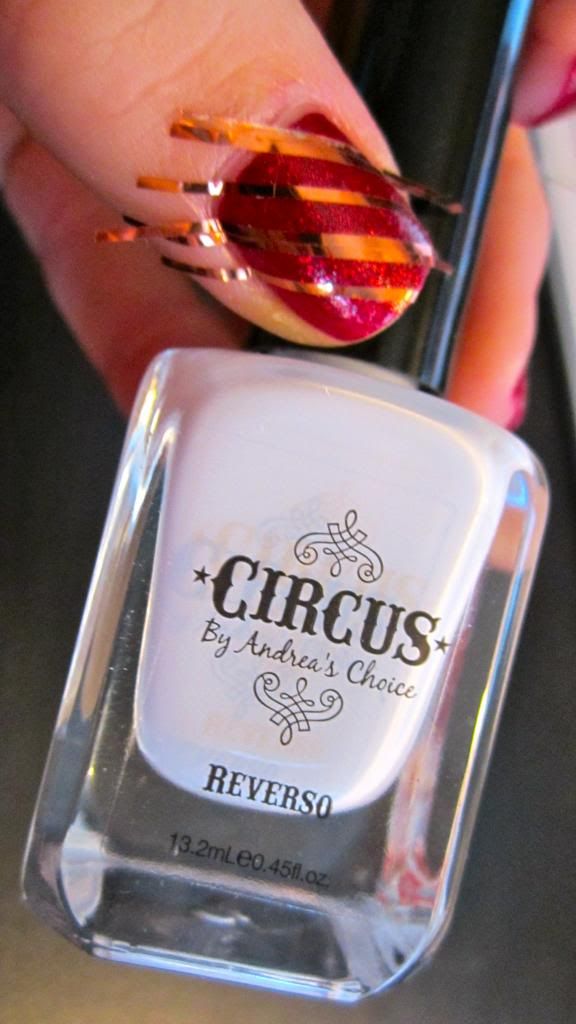
This is where things get fast. Once you've taped your nail, quickly apply a nice thick coat of white polish (this is where having a good opaque one-coat white comes in handy!) and pull off the tape IMMEDIATELY while the polish is still wet. Do not wait for it to dry!

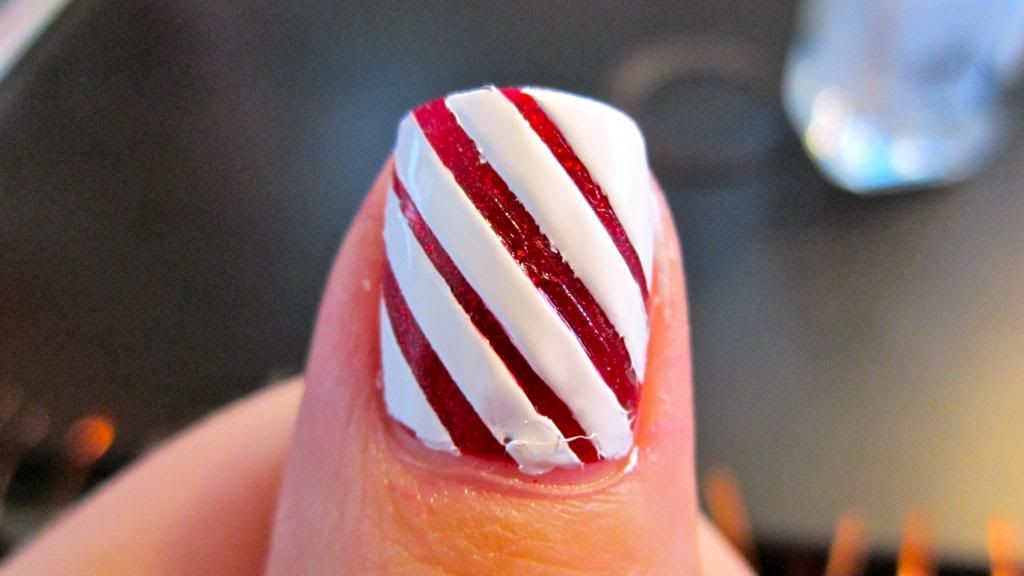
Or this will happen - stringy polish all over your nail! If that happens you can dip your cleanup brush in acetone and lightly dab the excess white off carefully.
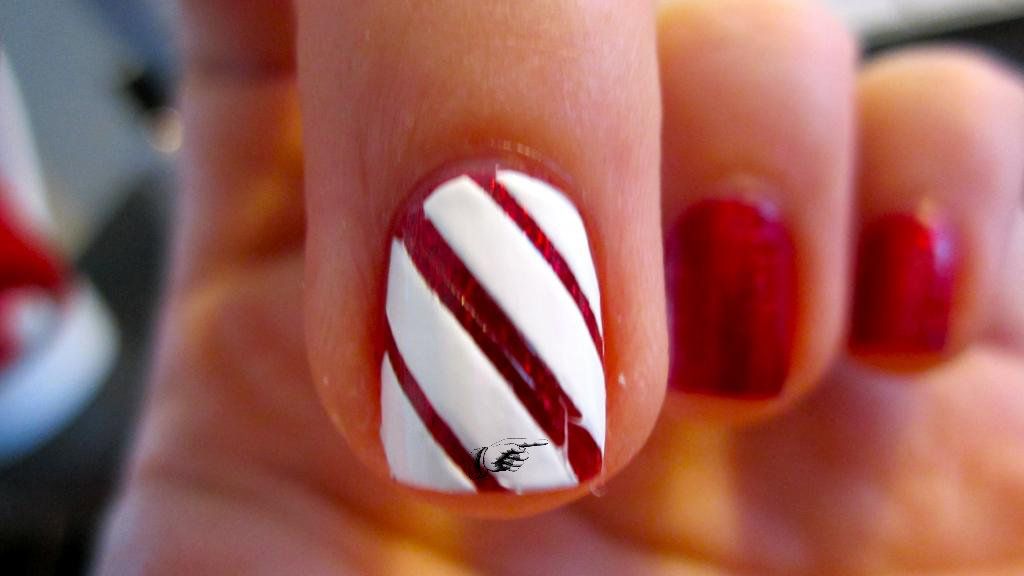
Once you have finished one nail, move on to the next, working one nail at a time. When you are finished repeat your cleanup process to clean up the white, wait for it to dry a little longer before applying topcoat so there isn't any smearing (I waited 10 mins and still had a little smearing/streaking -AND I completely messed up 2 nails on my right hand and smudged them, it was so sad!) I know its time consuming - it took me 45 minutes from start to finish - but looks at how beautiful the end result is!
nomnomnom candy canes!
Actually I hate candy canes. Does anyone even eat them? They make great decorations though!
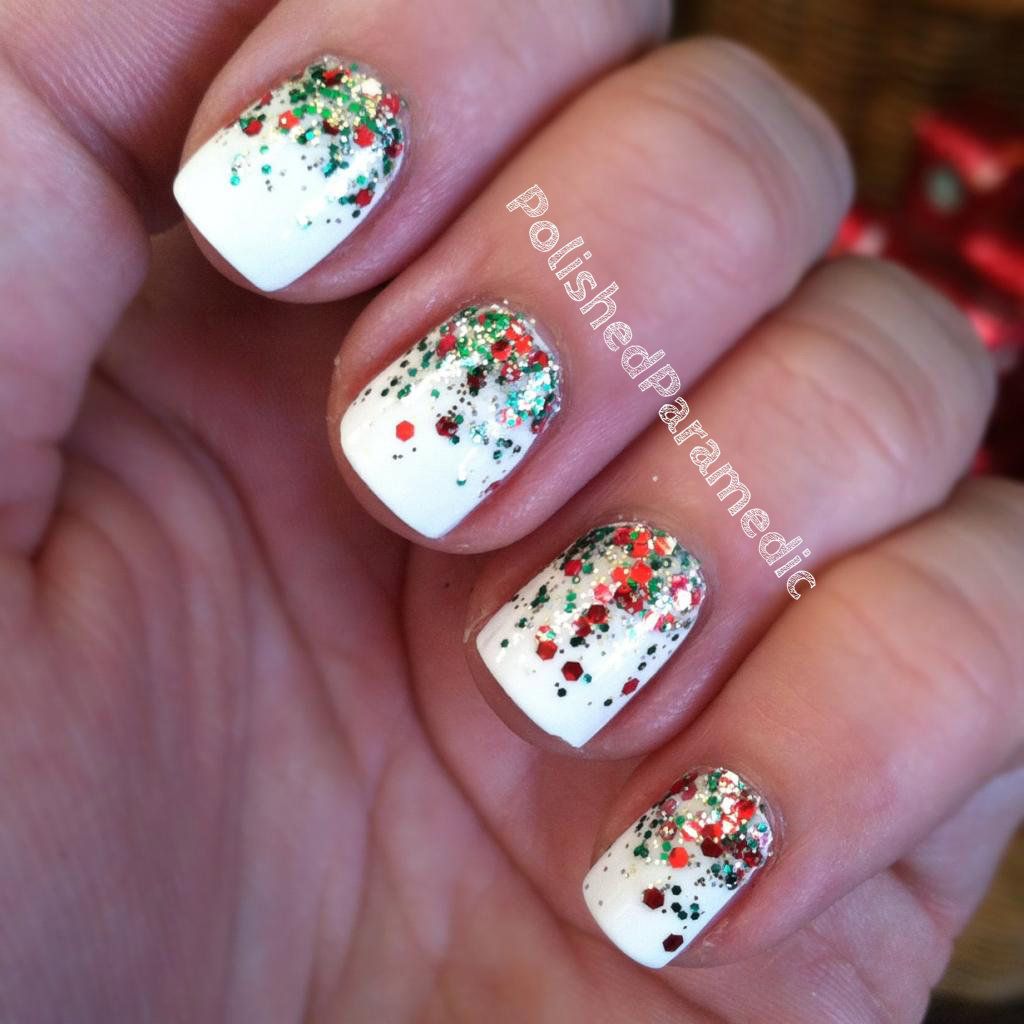
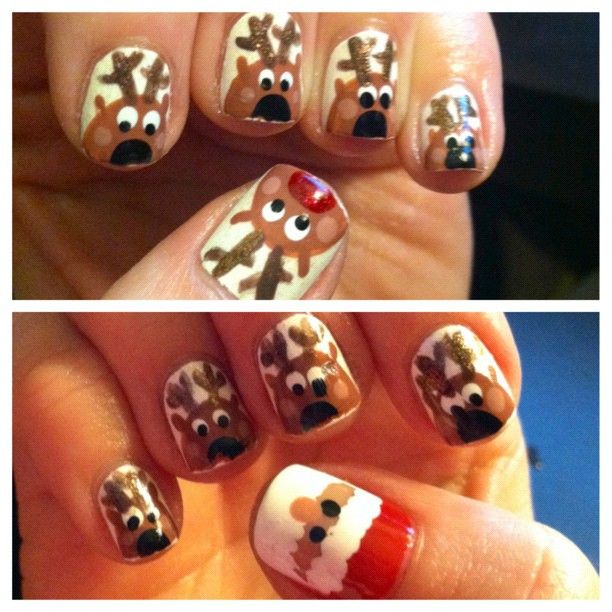
And here is a crappy instagram picture of my nails from the previous day - 8 reindeer (4 are drunk - look at them all cross-eyed and wonky-antlered!) Rudolph, and a creepy Santa (look at his beady little creeper eyes! He knows when you've been sleeping!) As you can see, my right hand is never as good as my left. Why can't I be ambidextrous!? Follow me on instagram - vsalisbury! :)
Enjoy! Hopefully I will get another holiday nail tutorial up before Christmas!
-Victoria